

Applies to: anyone copying files from their iPhone/iPad (for ease I will call these iDevice in this How-To) to a Windows PC
Does not apply to: Anyone wanting to use iCloud to manage their photos. If you are unsure, drop us a question below.
Note: click any of the images below to see the full size version.
There are a few steps you need to follow to move photos from your iDevice to your Windows PC… Here they are with photos:
- Make sure your iDevice is turned on AND unlocked (just on the home screen is fine, but not on the lock screen)
- Plug your device into your PC (you need a good USB cable ideally, the one the iDevice came with)
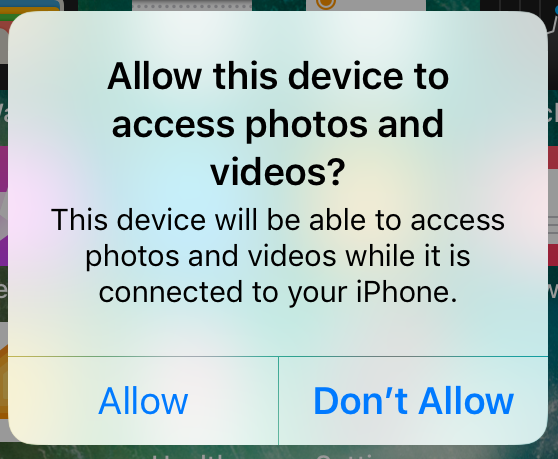
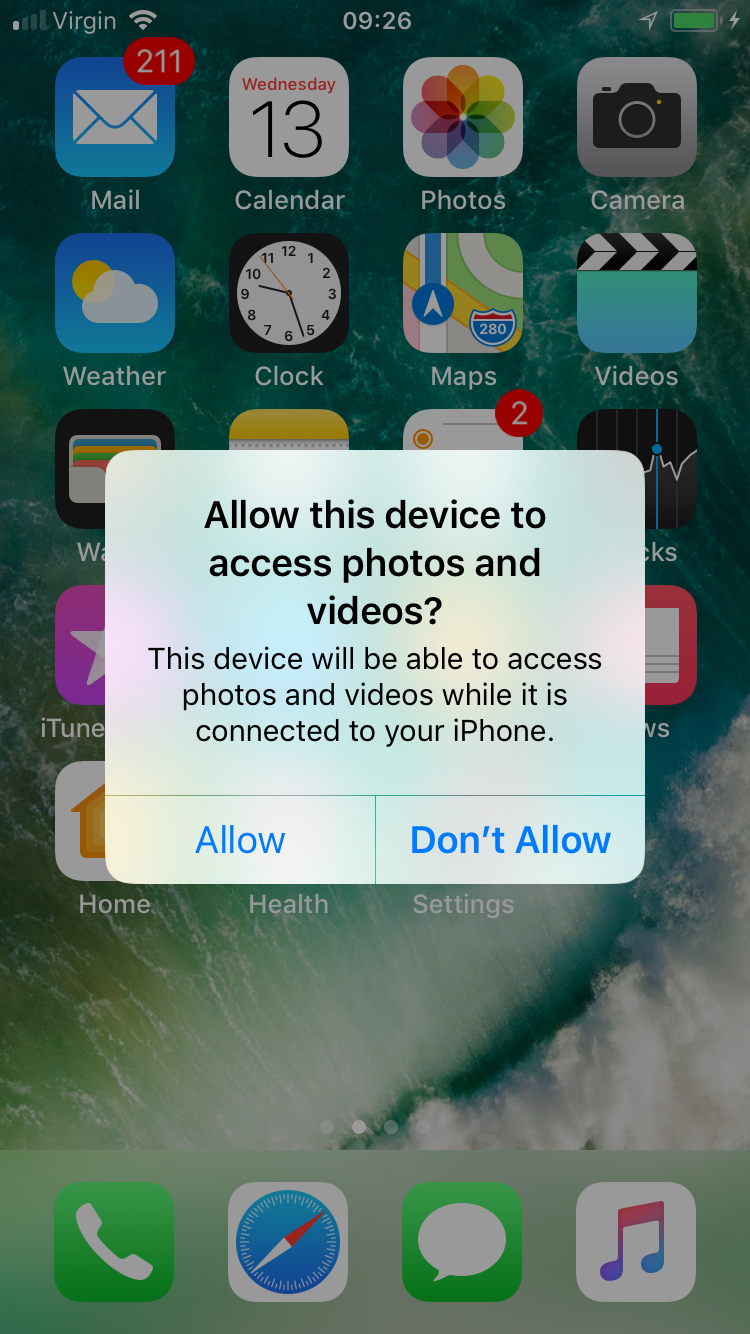
- Tap “Allow” on your iDevice screen, some models say “Approve” or “Allow Device” or something totally different! But select the “YES” option. On our iDevice the option looks like this:

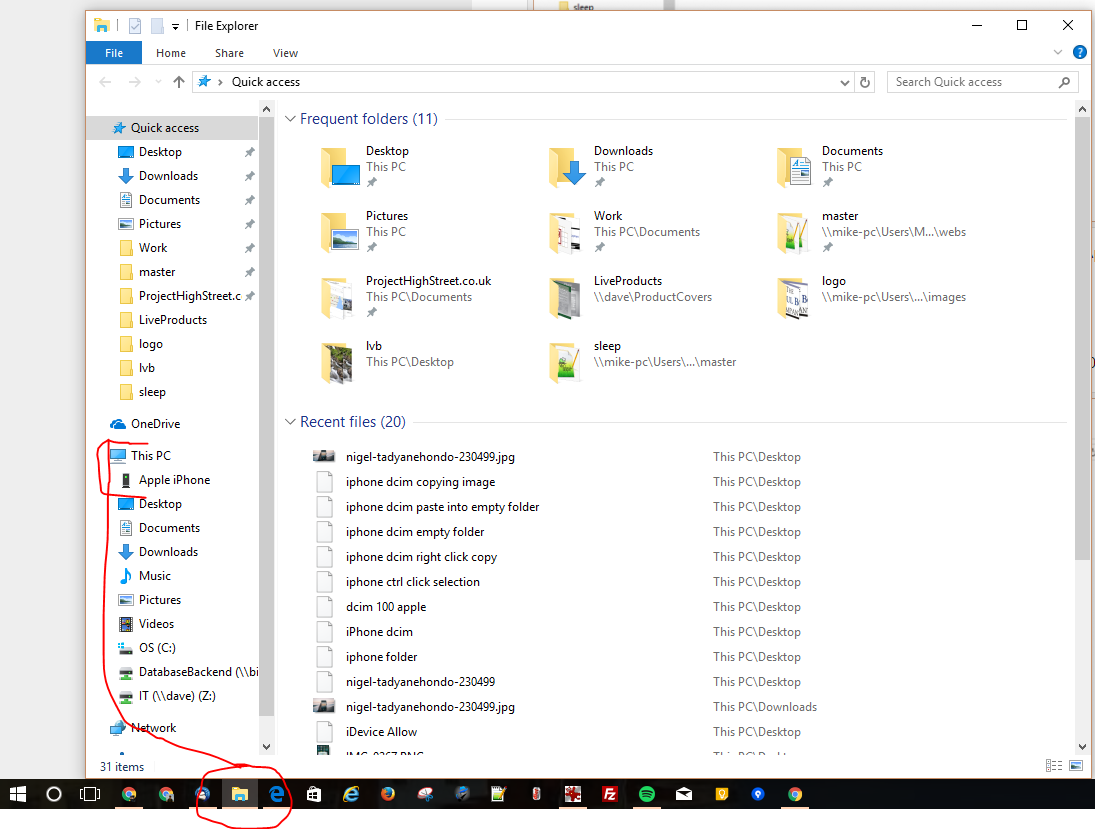
- Then on your PC you should see a folder popup that shows the iDevice. Here is how mine looks for an iPhone:
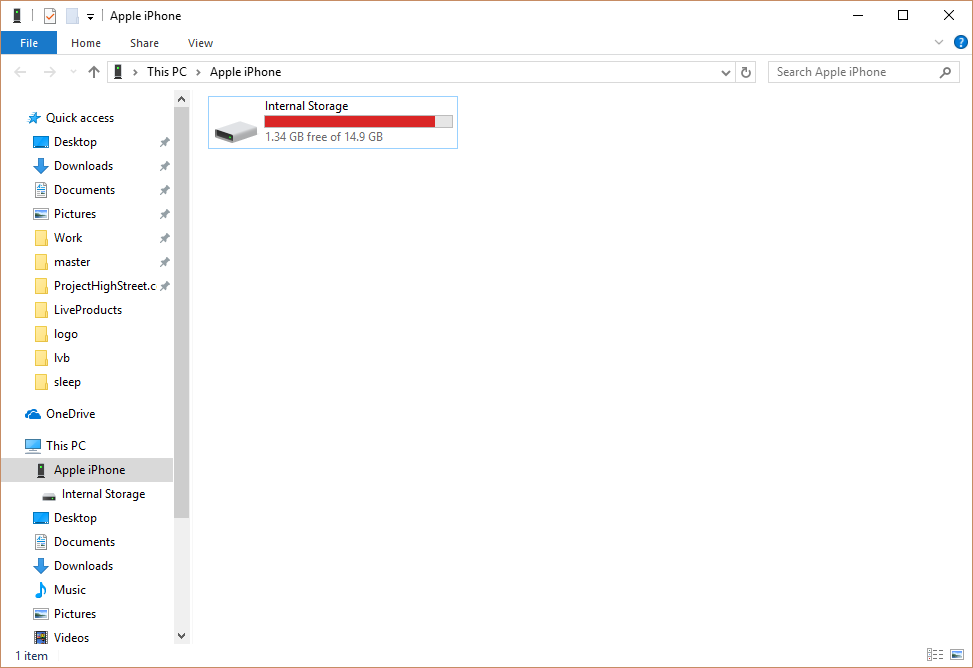
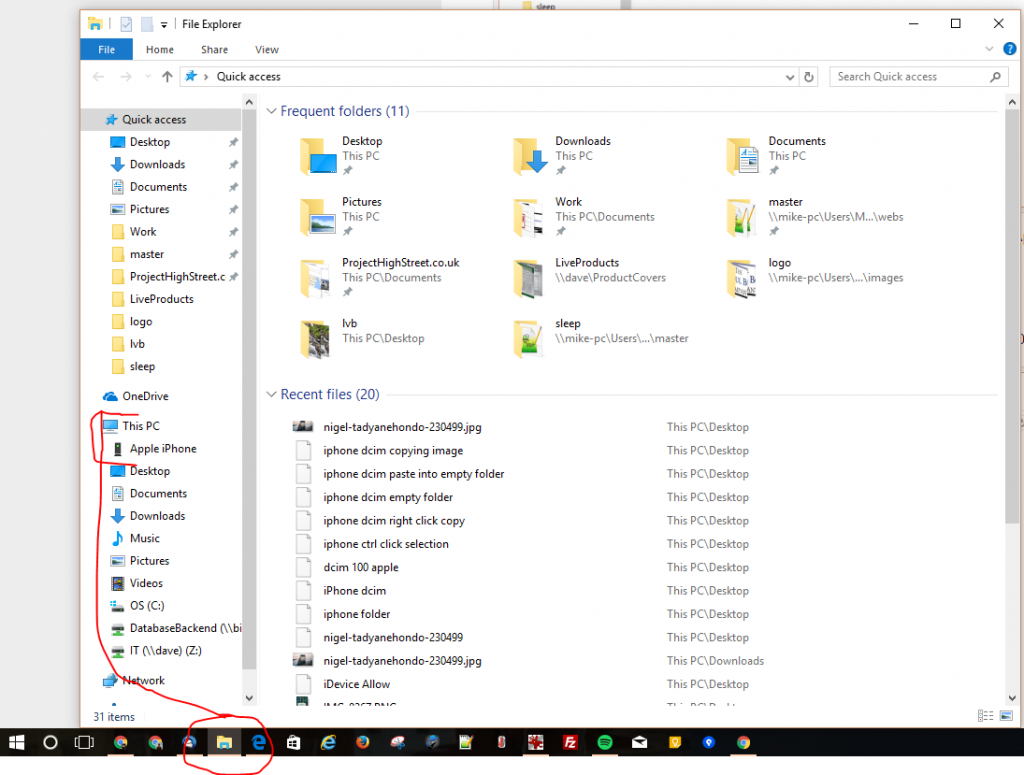
- If this doesn’t show up you can find it in File Explorer, then look for This PC and Apple iPhone (as highlighted on the left in the screenshot above)
- Then double click on the folder called “Internal Storage”
- Then Double Click on the one called DCIM.
- You might then have two (or more) folders to look in, for me I have one called 100Apple and 100Cloud
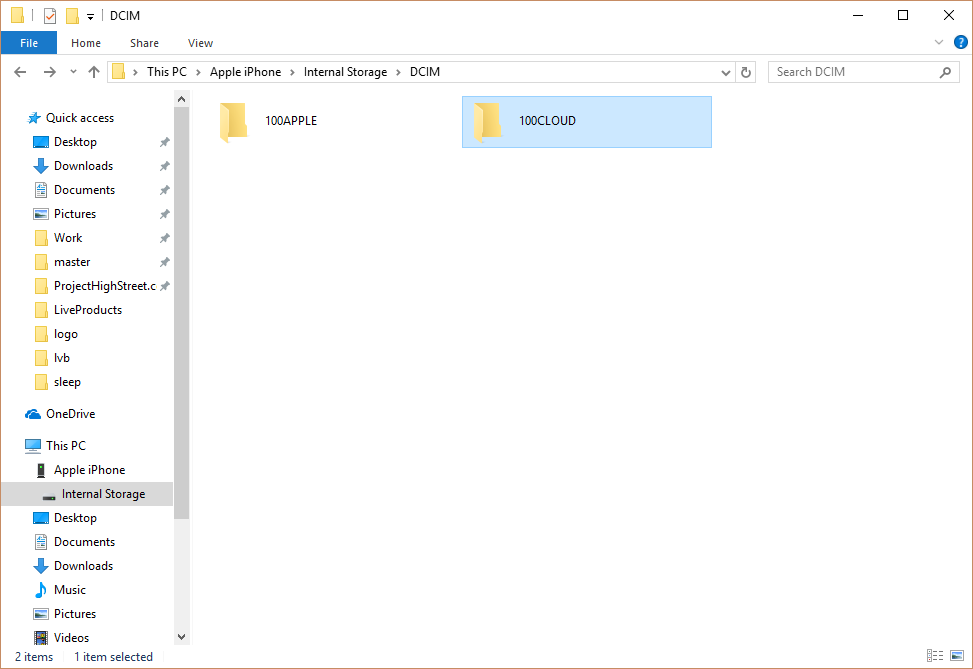
- Open each in turn until you find the one with the photos you want (for me it was 100Apple)
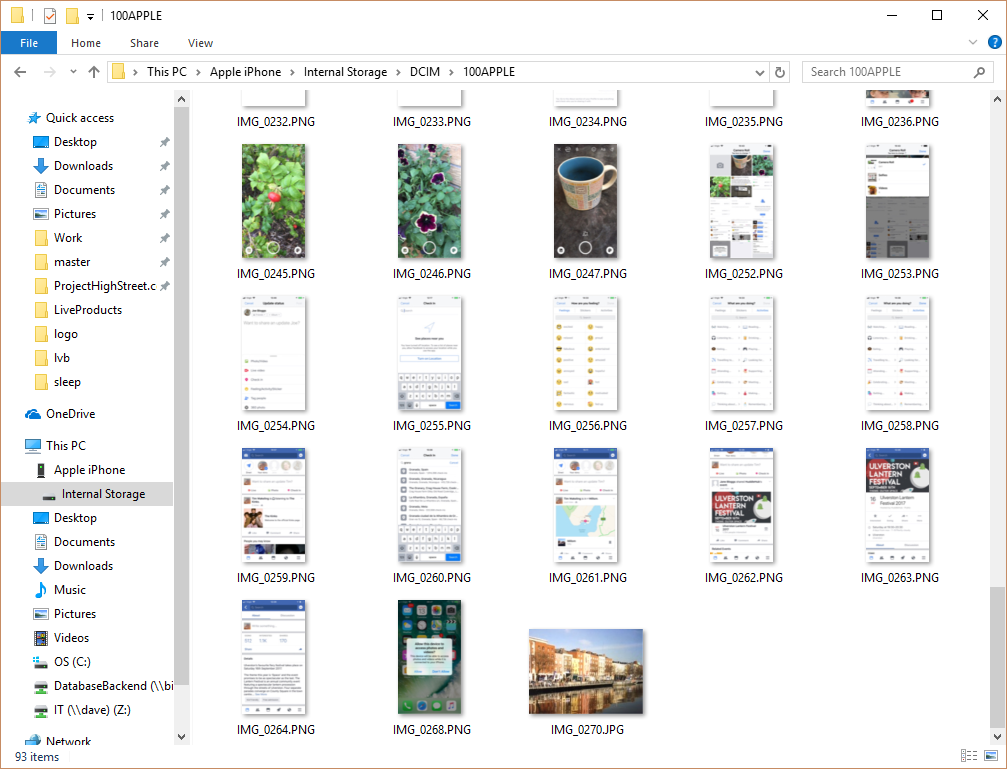
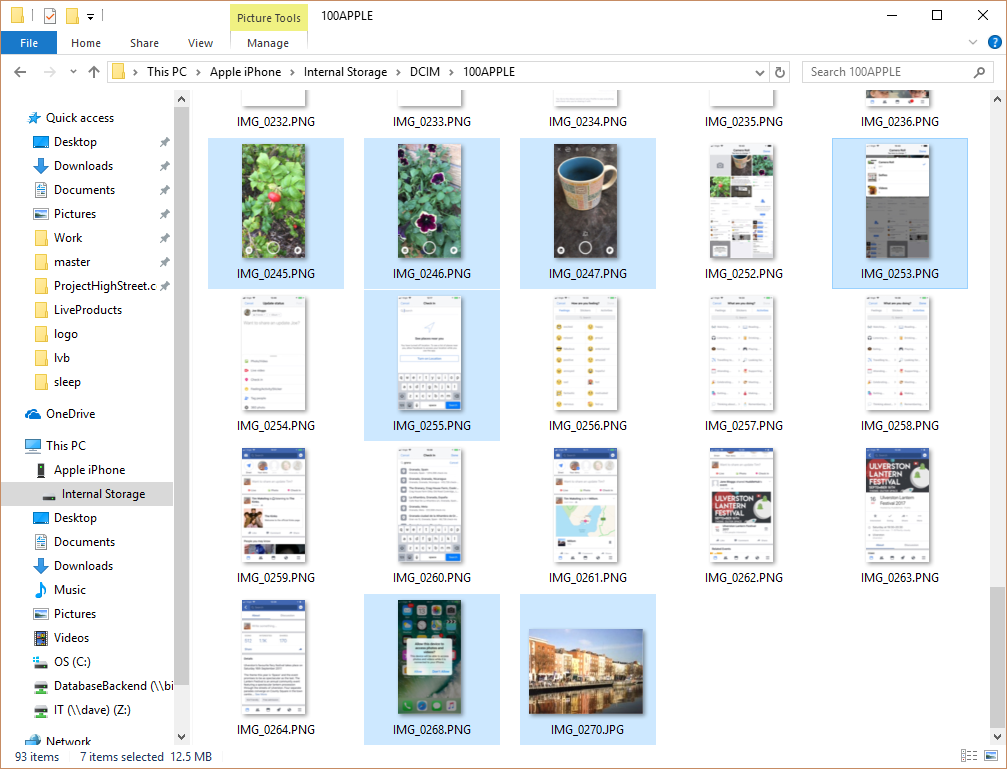
- Highlight the images you want to copy across:
– CTRL+A on your keyboard will highlight them all
– CTRL + Click allows you to just click on the ones you want (keep CTRL key pressed down while you click on the ones you want)
– Click the first one you want press Shift and keep Shift pressed down and click the last one you want and it selects all the ones in the middle.In this example, I have used the CTRL + Click option:
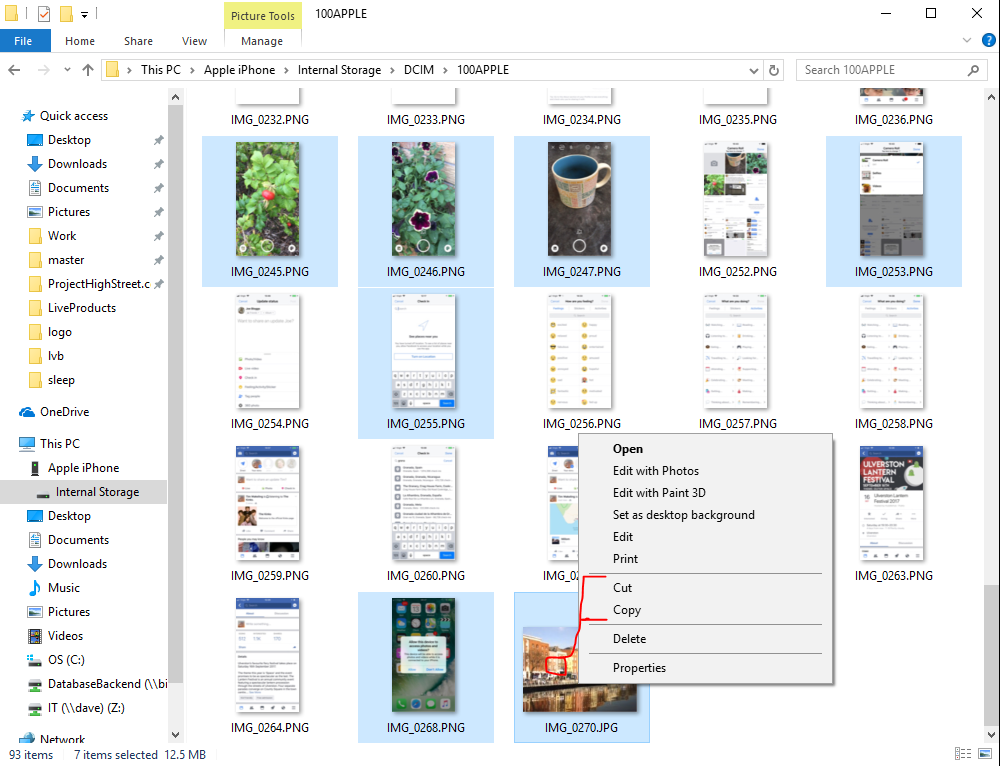
- Right click one of the blue highlighted images and press “Copy” (or if you want to remove them from your iDevice after moving them press “Cut” from the right-hand click menu – warning this will delete them from your iDevice after you move them).
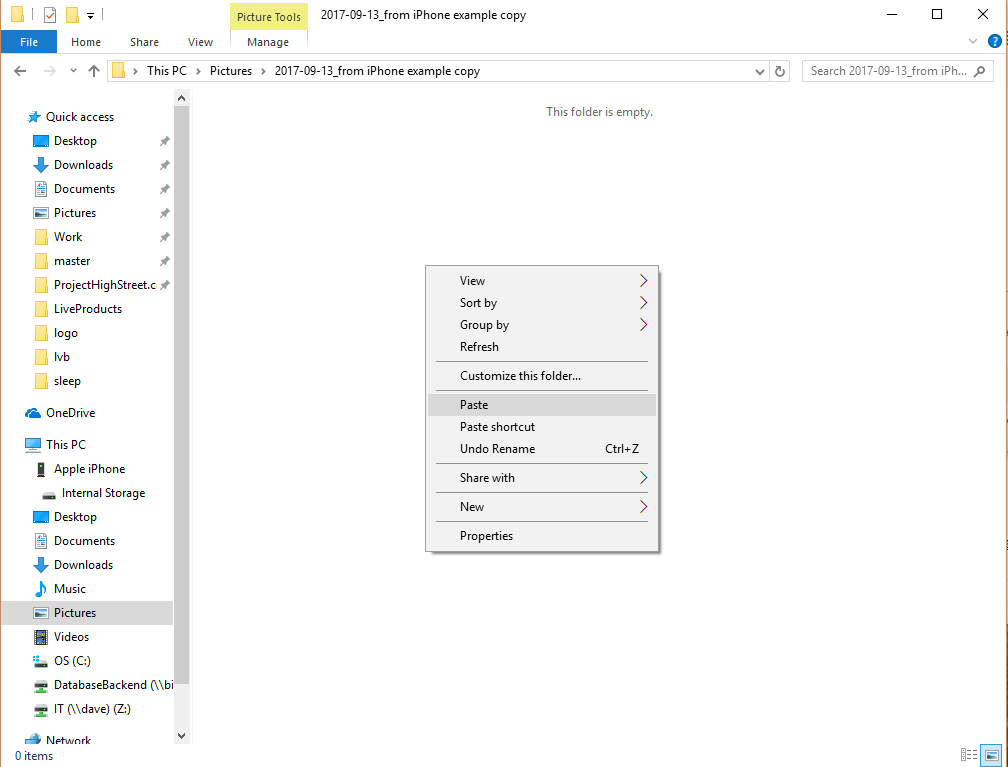
- Go to the folder you want to move them to (or make a new folder) I have opted to make a folder in Pictures:
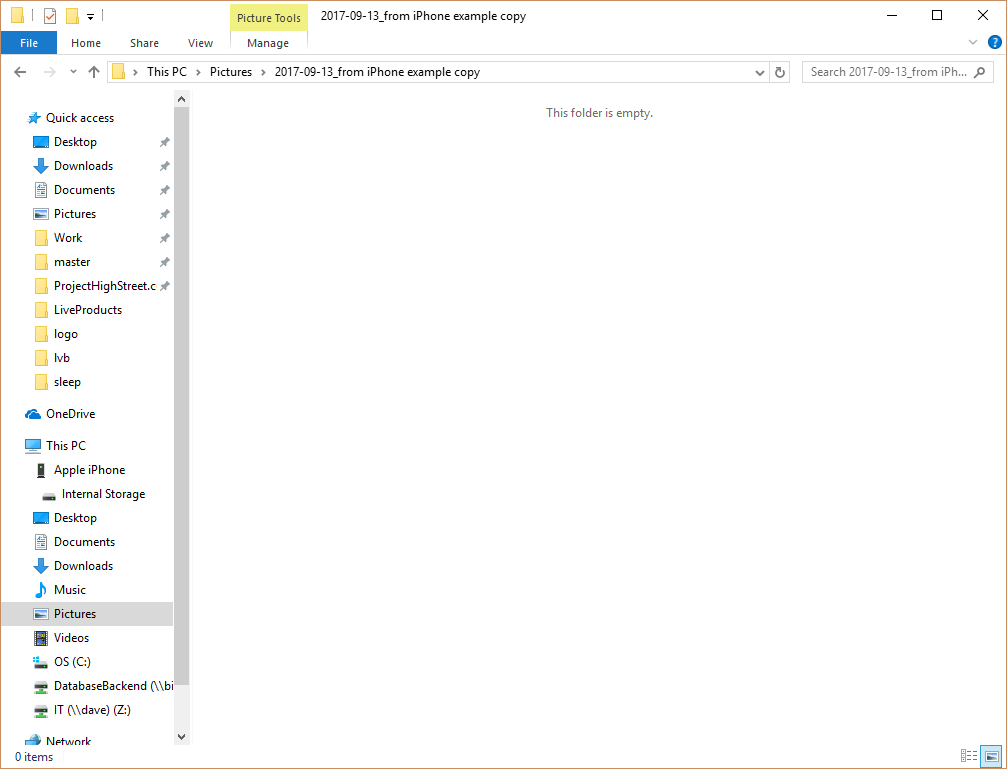
- Right click in the folder and press “Paste” This will copy your photos (if you selected Cut above it will move the photos and this is now your only copy of the pictures).
- Once they are copied across…
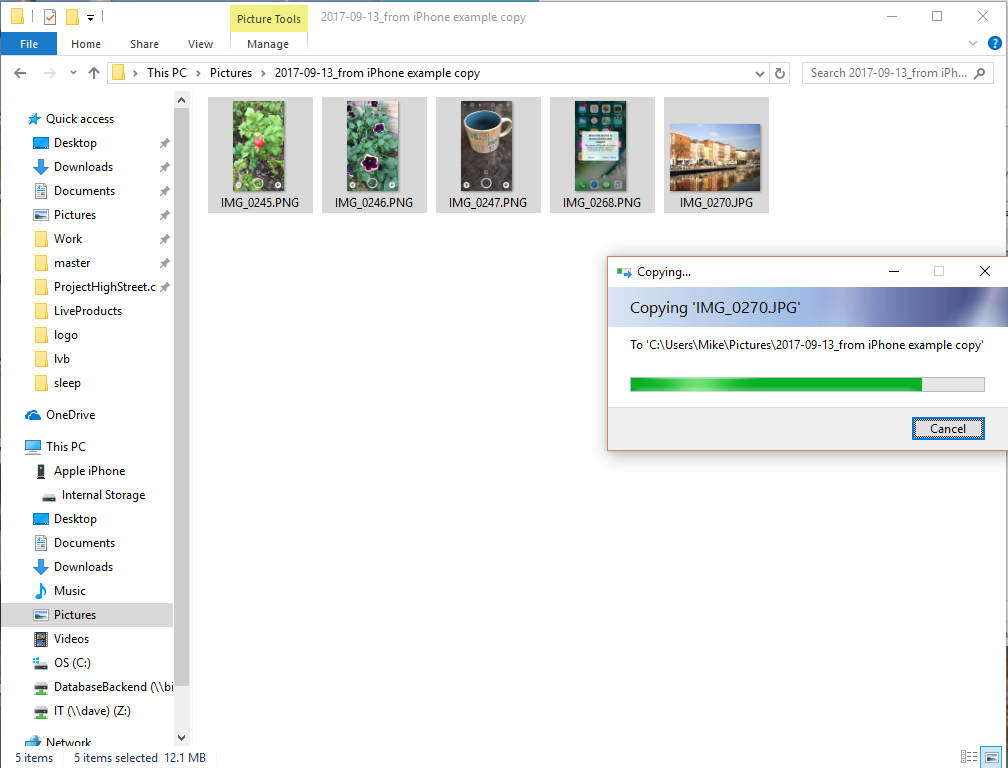
- That’s it, they are on your PC (if you copied them you could then delete them from your iPhone, or if you used the Cut command earlier then they will already have been deleted).
Any questions, comments or thoughts? Drop a note below and we will do our best to help.
Mike 🙂
Top Photo by Nigel Tadyanehondo on Unsplash


May 9, 2018 at 7:41 am
Hi Jess
The version I have of iTunes is 12.7.4.
Also, I discovered yesterday that the music folders and playlists on my PC are not syncing correctly with my iPhone. Previously, I had no problems with the music when syncing.
David
May 9, 2018 at 9:47 am
Hi David,
Thanks for getting back to me. That’s the most up to date version so I’m not sure why it’s not behaving.
I would try logging out of your iTunes account and logging back in on iTunes to see if that helps. A lot of people have come across this problem if they’ve had to change their password for their Apple ID but they haven’t signed in with the correct details on iTunes.
Let me know if this helps,
Thanks
Jess
May 7, 2018 at 9:26 am
I have no problem importing pictures from camera roll on my iPhone and my wife’s iPhone to my PC. Once imported, I organise the pictures into different picture ALBUMS on my PC. Subsequently I synch the iPhones with my PC , selecting specific albums to synch with each iPhone and transferring the additional album content to the iPhones, organised in albums on the iPhones. This worked fine for years but about 2 months ago an issue arose in that the synch from iTunes sticks at step 4 and never completes. Also, iTunes will intiate syncing even when no iPhine is connected. Have you any help please to resolve this issue? Kind regards David
May 8, 2018 at 10:24 am
Hi David,
Do you know if iTunes did an update around the time things started to go wrong? You can check if it’s due an update by opening iTunes, click on “Help” and choose “Check for Updates” from the menu.
If you could let me know what version it’s on (it’ll tell you when you’ve checked for an update) and I can see if there’s been any problems reported.
Thanks
Jess
September 19, 2017 at 11:05 am
Hi Mike
I like how you show you’re instructions very clear, but I have one question.
I don’t have an iPhone, photo no 4 it shows on the left hand side Apple iPhone and internal storage. does that automatically appear there when you plug you’re iPhone into the PC.
Thanks again
Robert
September 19, 2017 at 12:28 pm
Hi Robert
Ahhhh yes I see, so on my PC it does pop up automatically. However, on some, you need to select it from the File Explorer (as seen in Image #5). Then you should see iPhone (or whatever type of phone you have) listed on the left-hand side.
Let me know if this is not the case or if my instructions could be clearer and I will do my best to update the article.
Thanks for the feedback
Mike 🙂