Updated 1/5/20
Applies to: Advanced image editing to improve quality of scanned documents such as newspaper clippings… Windows 10.
Hello, first off I’d like to thank an Inner Circle member for allowing me to use their scans of an old newspaper, I think they have worked out really well.
I’m going to talk us through turning a scanned PDF document (in this case a newspaper cutting) into an image file. Or if you already have an image file you just want to improve the quality of, then keep reading.
Sharpening text, enlarging and replacing other content when it’s not wanted.
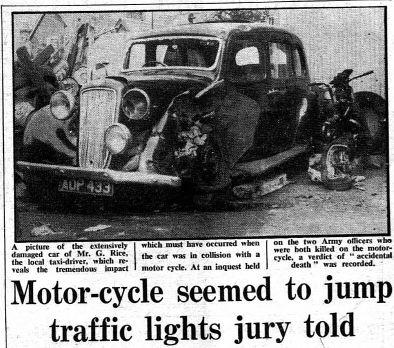
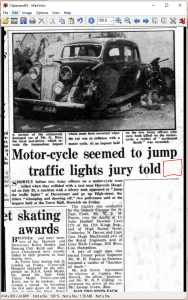
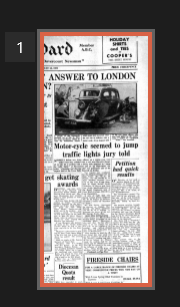
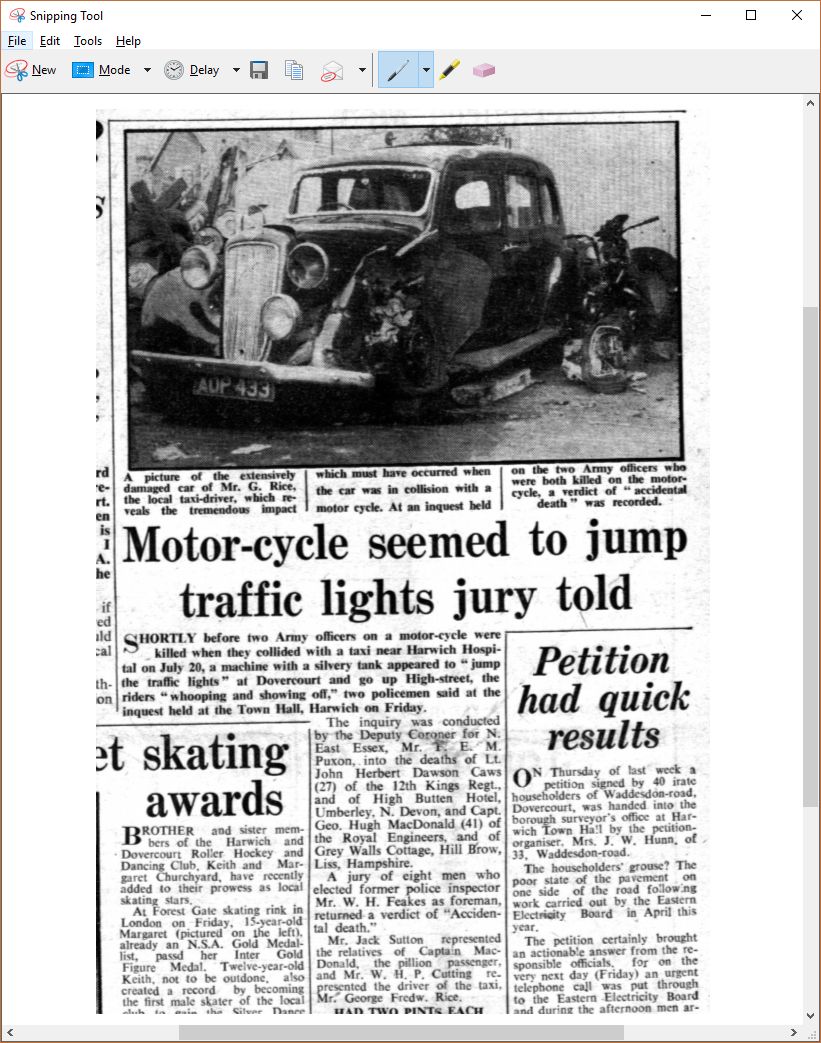
We are going to go from this
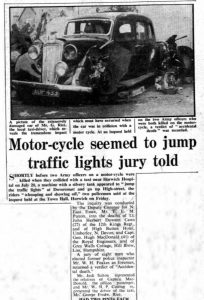
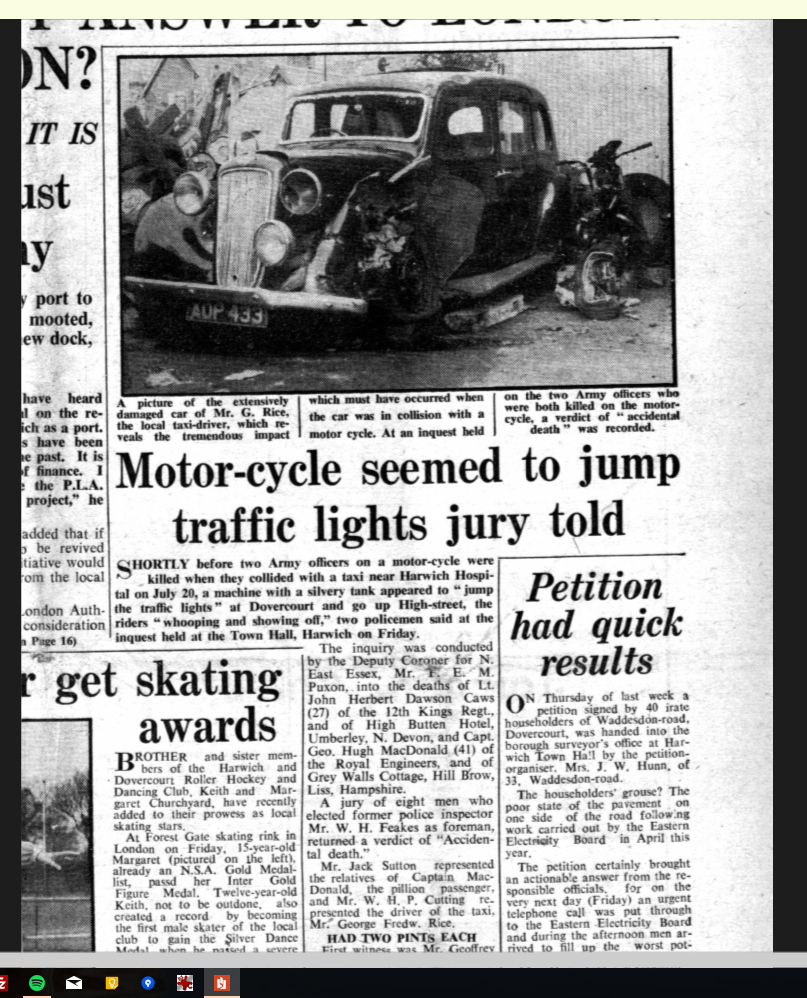
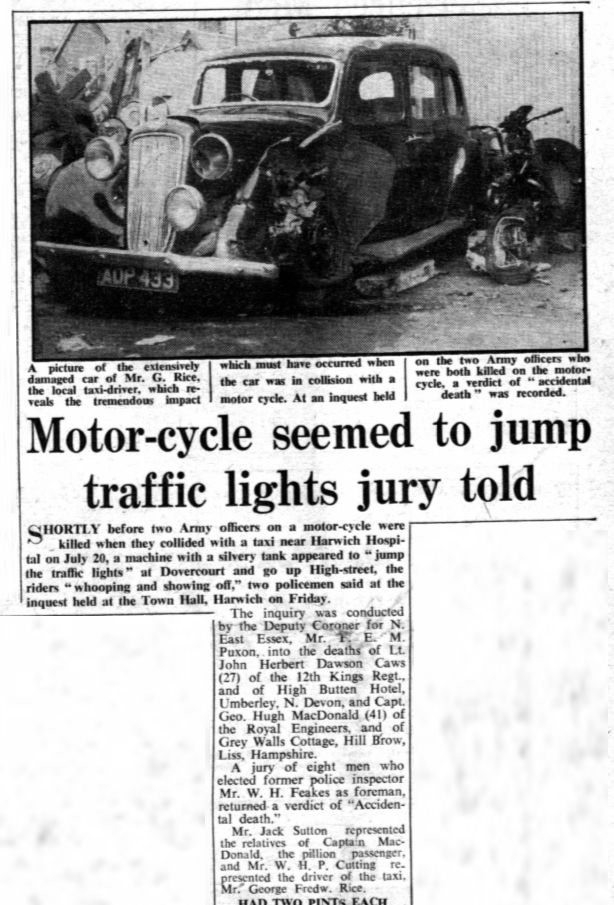
To This
In a number of (as yet unknown) easy steps…
Click the images to see them in full size
Key Differences:
- Text and image sharpened and enlarged a little (although my example images I used above might not show the enlargedness).
- Content not to do with the main article is removed (and not just replaced with stark white blocks which might look odd).
- Converted from PDF to JPG (photo format) file.
- Tidied up the edge of the clippings (where there might be overlap between the images like the end of a sentence is the same as the start of the sentence on the next picture) and around any border lines.
Want to give it a try? This is what you need:
- This tutorial is made for Windows 10, it’s very similar for other versions of Windows but let me know if something doesn’t quite work.
- A PDF of an old newspaper clipping (you can download the ones I used here and here. Kindly provided by an Inner Circle member who asked the question in the first place).
- A PDF reader (your web browser will generally open PDF files).
- IrfanView Image Editor which you can download from here http://www.irfanview.com/ for free (click the “Download” link on the left-hand menu, then select one of the download locations. Download the EXE file and run it, it will install the program and add a shortcut to your desktop.) Let me know if you struggle to download it, there are lots of option which is confusing.
- Some time, it takes a little time and patience and experimenting with the settings…
The Steps:
You should be able to click any of these images below to see them in full size…
- Open a PDF (or any other scan format, if you already have it in an image format JPG, JPEG, PNG, TIFF etc… then skip to step 6 and open your image in IrfanView) and zoom into the clipping you want to keep. Don’t worry about cutting a bit off the bottom we can just turn it into two images
Press CTRL and move the Mouse wheel normally zooms in and out:This is the point where you set the size of the image. Use the Zoom to make the image at this point the size you need at the end. It’s a good idea if you have multiple clippings to zoom in and compare it to the first one you did so that they are all the same size.

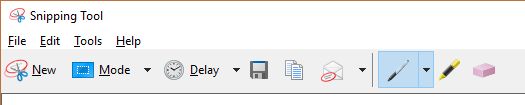
- Now you’ll need either the “Snipping Tool” or “Snip & Sketch” – you might have both or just one of them. You can find them in the start menu. Windows 10 users, open the start menu and type in “Snip” and it will find either or both, and it doesn’t matter which you use. The Snipping Tool looks like this:

The Snip & Sketch tool looks like this:
- Whichever one you’re using, click “New”. This dims the screen and you click and drag a box around the bit you want, in this case, we want the top bit of the news clipping. Have a practice selecting the bit of the screen you want, just click “New” to try again.
- This automatically copies the screen grab to your clipboard. (If you’re using Snip & Sketch, it’ll automatically open the screen grab in Snip & Sketch, but you can ignore that – you can do more with it in IrfanView, which I’m about to show you…)
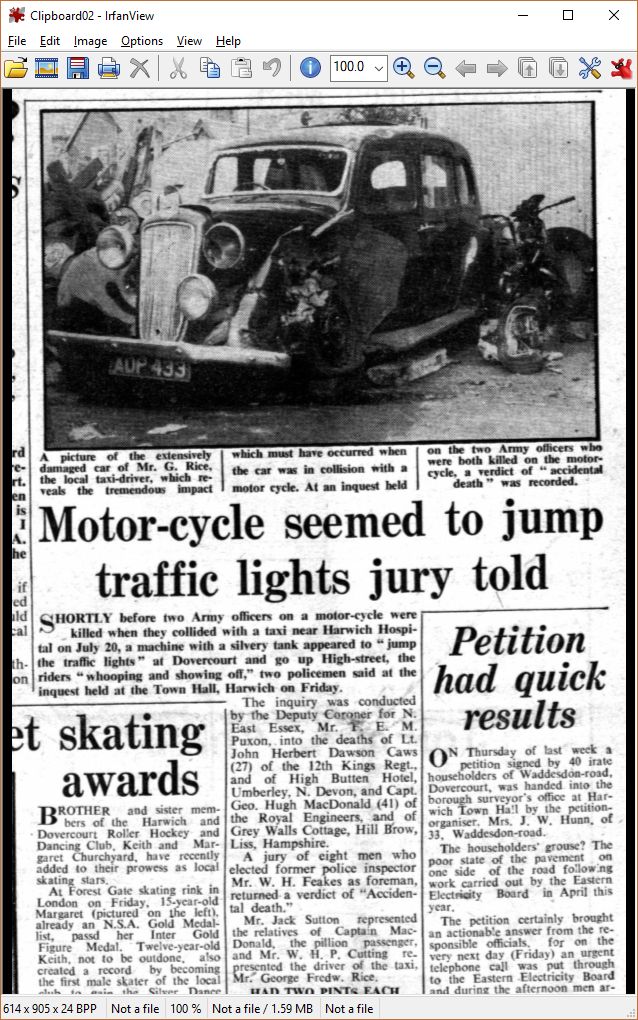
- Open IrfanView and press CTRL+V or Edit>Paste to get the screen grab into the program
- Start by removing any bits of text you don’t want. I don’t like a stark white block where text is missing so I decided to go for a dappled white look. To do this I click and drag a square around a bit of white space and press CTRL+C to copy it.
- Then select the area of text I want to remove. Again draw a box around it click and drag in IrfanView and press CTRL+V to paste the white text. Again you might need to experiment with different bits of copied white space. Experiment with different bits of white content copied and how much you select to remove in one go until you find a way it looks nice for you. For me I just selected the right-hand text in one go and pasted the white square over it. Note: If you want plain white let me know and I can let you know how, basically copy a white block from MS Paint.
- Repeat for each block you want to remove if the lines around the article aren’t straight it can be a bit fiddly but I found lots of small boxes get the job done. Don’t forget any edge bits, compare this image to the one above look on the very left-hand side next to the main title to see I’ve removed some text from an article next to it. This just cleans up the edges even more. It took a few squares of white to remove it.
- If your cutting is going to go over two images (if the article is too long to fit on the screen). Pick a bit at the end of the article where it makes sense to stop the words or where it will overlap with your second image, in this case there is a bit in bold at the end which will end up on the second image… In this example, the bit between red and blue would be in both images, so I’ve decided to remove it from the first image.
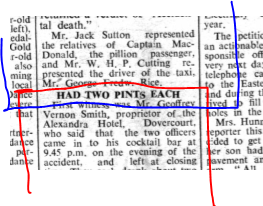
- The bit in red will be in the second image. So I’ve decided to remove this from the first image, again, draw a box around the text in IrfanView and paste some white background colour over it
Using Ctrl+Middle Mouse button to scroll in IrfanView will zoom in on the image and this helped me to cut the words out without affecting text around it. This is especially helpful if the image isn’t quite straight.
- Fine tuning, is your scan in black and white? Could the text be sharper?
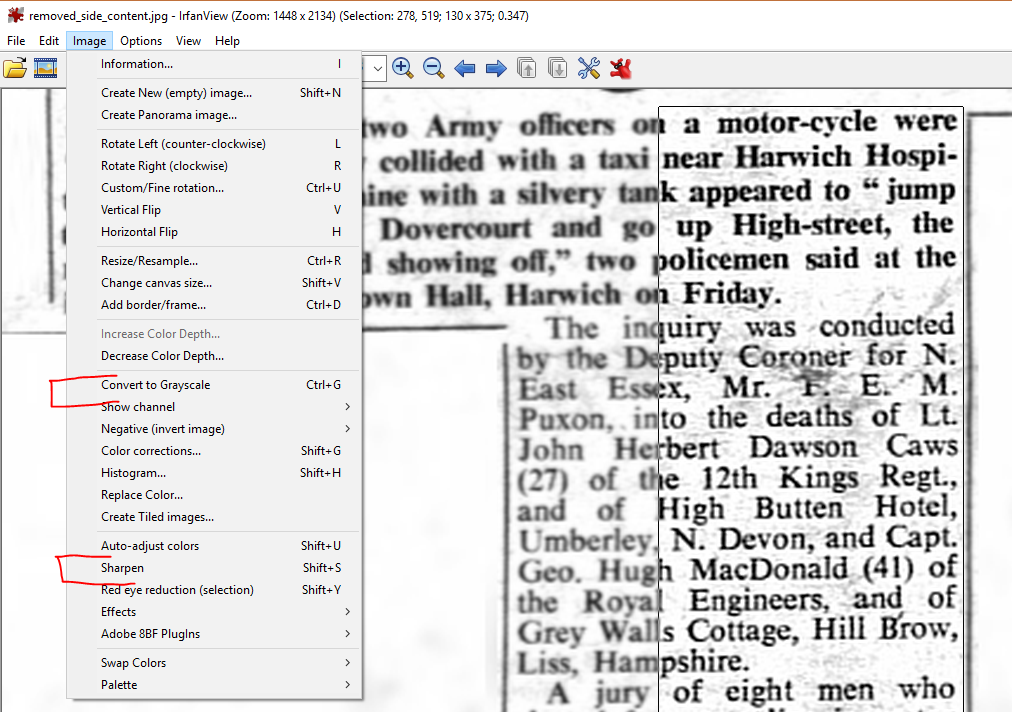
Have a play with the settings in the Image menu (from the top menu). Make sure the whole image is selected, press CTRL+A if you are unsure.Look for “Convert to greyscale” and “Sharpen” these are probably the most useful, but again if you have time have an experiment, CTRL+Z will undo your last thing you did. Don’t forget to press Save As often if you want to keep a history of changes to pick the best one later.
- After a bit of experimenting, I’ve got a before and after zoomed in image for you, better or worse???
For reference, I clicked “Sharpen” twice and “Convert to greyscale”. But depending on your content you might need different options…
You should write down which tools you ran so you can do the same on all the bits of the clipping so they all look the same.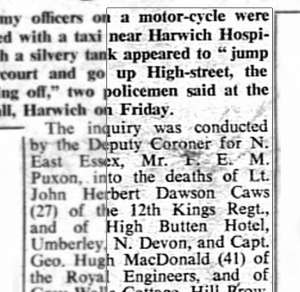
- Advanced features such as Contrast and Brightness, Gamma etc… can be found under the “Colour Corrections…” menu option, again under the “image” menu from the top menu.
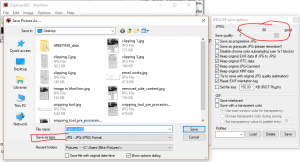
- Save your file! Select the type of file you want to save it as (JPG or PNG are both good options). If you get “Quality settings” set them as high as possible
- Repeat steps for other bits of the article, in our example page it needs to be split into two images to get the right text size in the image. So I just scrolled down the PDF to bring the next bit of it onto the screen and started again with the SNipping tool. I wrote down the settings I’d used to optimise it (Sharpen twice + Convert to Grey Scale).


And that’s it! And if you made it all the way through this you deserve a cup of tea. I should have said at the start that a cup of tea (or stronger) is required.
Good luck, and if you have any newspaper (or any other scan) images before and after you want to share email them to [email protected]
Thanks
Mike 🙂